How to Spot a Cheater:
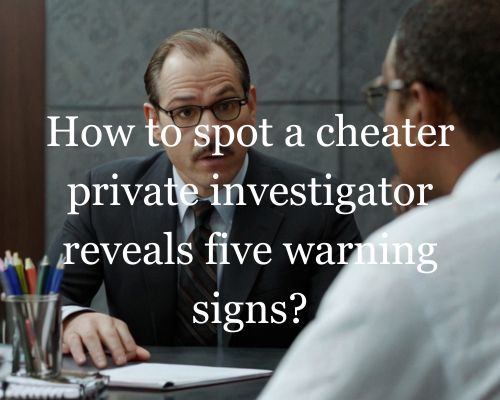
Private Investigator Reveals 5 Warning Signs
If you suspect that your partner may be cheating on you, it can be difficult to know for sure. However, a private investigator has revealed five warning signs that could indicate your partner is being unfaithful.
Private investigators like in Ali Private Investigator Tampa, are experts in uncovering hidden information, and they have unique insights into the behavior of cheaters. According to one investigator, some of the most common warning signs of infidelity include changes in behavior, such as increased secrecy or unexplained absences.
Sudden changes in appearance or grooming habits, and a lack of interest in sex are also warning signs. Other red flags can include a sudden increase in work or social obligations, a change in communication patterns, or a sudden change in attitude towards you.
Understanding Infidelity
Infidelity is a breach of trust that can cause significant damage to a relationship. It can be difficult to identify, as cheaters will often go to great lengths to hide their behavior. However, there are several red flags that can indicate that your partner may be engaging in infidelity.
Psychological Underpinnings of Cheating
Cheating is often driven by a fear of abandonment or a desire for novelty and excitement. It can also be a response to trauma or anxiety. Cheaters may feel unfulfilled in their current relationship or may be seeking validation from others.
It is important to note that cheating is not always a reflection of the quality of the relationship or the partner.
The Role of Social Media and Technology
Social media and technology have made it easier than ever to engage in infidelity. Cheaters may use messaging apps to communicate with their partner, taking their phone everywhere and messaging late at night.
They may also use social media to connect with old flames or seek out new partners. If your partner is exhibiting suspicious behavior with their phone or online, it may be a red flag for infidelity.
Suspicion alone does not necessarily indicate that your partner is cheating. However, if you are concerned about infidelity in your relationship, it is important to have an open and honest conversation with your partner about your feelings and concerns.
Trust is a crucial component of any healthy relationship, and it is important to address any issues that may be eroding that trust.
Detecting Deception
If you suspect that your partner may be cheating, detecting deception is crucial to confirm or deny your suspicions. Private investigators have a wealth of experience in detecting deception and use a variety of techniques to uncover the truth.
With Sherlock Holmes of Ali Private Investigator Tampa, we will explore some of the behavioral changes, physical clues, and investigation techniques that can help you detect deception.
Behavioral Changes and Warning Signs
One of the top five signs of a cheating partner is a sudden change in behavior. If your partner becomes secretive, unfaithful, or exhibits gaslighting behavior, it may be a sign that they are hiding something.
Lying and accusing you of being unfaithful are also common warning signs.
Another warning sign is a sudden interest in their appearance and weight. If your partner starts buying new clothes, showering more frequently, and paying more attention to their appearance and weight, it could be a sign that they are trying to impress someone else.
Physical Clues and Altered Habits
Physical clues can also provide evidence of infidelity. If your partner starts wearing a new perfume or aftershave, it may be a sign that they are trying to cover up the scent of someone else.
They may also start staying out late or coming home smelling of alcohol or cigarettes. Investigate any changes in their habits, such as a sudden change in their work schedule or a history of cheating.
They may also become defensive or excessively defensive when asked about their whereabouts or activities.
Investigation Techniques by Professionals
Private investigators use a range of techniques to investigate suspected infidelity.
They may use physical surveillance, tracking devices, or social media monitoring to gather evidence. They may also conduct background checks or search for financial transactions that could indicate infidelity.
If you suspect that your partner is cheating, it is important to gather evidence before confronting them.
A private investigator can help you gather the evidence you need to make an informed decision.
Down Under Investigations is an Australian-based private investigation firm that specializes in infidelity investigations. They can help you uncover the truth and provide you with the evidence you need to move forward.