How to Fix a Leaking Roof Membrane
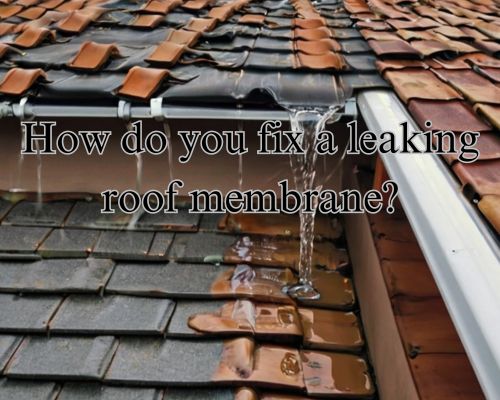
How to Fix a Leaking Roof Membrane
A leaking roof membrane can lead to significant damage if not addressed promptly. Whether you’re dealing with an EPDM, TPO, or another type of roofing membrane, knowing how to fix leaks effectively is crucial for maintaining the integrity of your home. With Charles Jimerson of CJ Commercial Roofing NJ, let us get to know how to maintain our roofing.
To fix a leaking roof membrane, start by locating the source of the leak and preparing the repair area with the appropriate materials.
In many cases, the repair involves cleaning the damaged area, applying a suitable adhesive, and using patches that extend beyond the initial damage. Ensure the patching material is compatible with your roofing membrane to create a strong bond that prevents future leaks.
By taking these steps, you can protect your property and save on costly repairs down the line.
As you read through this guide, you’ll learn the specific materials and techniques required for different types of membranes, empowering you to tackle leaks with confidence. With the right approach, a leaking roof membrane can be repaired effectively, keeping your home safe and dry.
Identifying Roof Membrane Leaks
Finding leaks in your roof membrane requires a systematic approach. By focusing on the roof surface, flashing, seams, and any signs of damage inside your home, you can effectively pinpoint the source of the leak.
Inspect the Roof Surface
Begin your inspection by examining the roof surface for visible signs of damage. Look for cracks, blisters, or punctures in the membrane. These imperfections can allow water to infiltrate.
Pay special attention to areas around skylights, vents, and drainage points, as these are common leak locations.
You can walk on the roof or use binoculars from a distance to check for wet spots or discoloration. When inspecting, wear appropriate safety gear.
If you notice any loose seams, they may need to be resealed to prevent leaks.
Examine the Flashing and Seams
The flashing and seams are critical components where leaks often originate. Inspect the flashing around chimneys, walls, and roof edges. Look for signs of rust, warping, or loose materials that could compromise the seal.
Check the seams where two pieces of roofing material come together. Over time, these locations may separate, creating vulnerabilities.
Use a flashlight to inspect overlapping areas and nuances that might escape casual observation.
If you find any areas that appear to have separated or are failing, document them for repair. Ensure that all seals are intact and free from debris.
Check for Water Damage Inside
Inspect your interior for signs of water damage that may indicate an external leak. Look for stains or wet spots on ceilings and walls, especially in areas directly underneath or adjacent to the roof.
Check the attic for damp insulation or moisture on the beams. Any wet spots in the attic suggest that water is penetrating through the roof.
If you notice peeling paint or blistering on the walls, it might also signal moisture infiltration. Finding these signs will help correlate internal damage with potential external sources, aiding in leak identification. But if you find it hard to locate damages, you can ask CJ Commercial Roofing NJ for assistance.
Repairing the Roof Membrane
To effectively fix a leaking roof membrane, you need to follow a systematic approach. This includes preparing the area, applying sealant or patches, replacing damaged sections, and ensuring proper drainage.
Prepare the Area
Start by clearing the area around the leak. Remove any debris, leaves, or dirt using a garden hose or vacuum.
Inspect the roof surface carefully for signs of damage or deterioration.
Use a utility knife to cut back any peeling or cracked membrane. If you detect any soft spots or water damage, note these areas for further inspection.
Ensure that the work area is dry to facilitate proper adhesion of any repair materials.
Wearing safety gear is crucial. Use a ladder that’s stable and can support your weight safely. Working on a roof can be risky, so prioritize your safety while accessing high areas.
Apply Sealant or Patch
Once the area is prepared, it’s time to apply a suitable sealant or patch.
For small cracks, roofing cement or a specialized roof sealant can be effective. Use a caulk gun to apply the sealant generously along the cracks to create a watertight barrier.
For larger holes, cut a patch from EPDM rubber or another compatible material. The patch should extend at least three inches beyond the edge of the hole.
Clean the area with a membrane cleaner or acetone before application to ensure better adhesion.
When using rubber-to-rubber contact cement, apply it to both the patch and the substrate. Wait approximately 10 minutes for drying before pressing the patch firmly into place. Use a paint roller to smooth out any air bubbles.
Replace Damaged Sections
If you identify significantly damaged areas, you may need to replace sections of the roof membrane.
Start by cutting out the damaged section using a utility knife. Ensure your cuts are clean and neat for optimal new material placement.
Next, measure and cut a replacement piece of roofing material, allowing a minimum of three inches overlap.
Secure the new piece in place using fasteners, ensuring it is flush with the surrounding membrane.
Seal all edges with roofing cement to prevent water infiltration. Pay close attention to areas around vents, chimneys, and roof valleys, as these are common points for leaks.
Proper installation and sealing will help mitigate future issues.
Ensure Proper Drainage
Finally, check the drainage system to prevent water accumulation.
Inspect gutters and downspouts for blockages. Clear any leaves or debris to facilitate water flow.
Making sure your roof valleys and flashing are functioning correctly is also essential.
Damaged or gapped flashing can lead to leaks. If necessary, reapply or replace flashing around chimneys and vents for maximum protection.
Ensure that drains are clear and functioning properly to prevent ice dams during winter or standing water during heavy rains.
Maintaining adequate drainage helps prolong the life of your roof membrane and prevents leaks.